Plasmo 是专为现代浏览器扩展开发设计的框架,能极大简化 Manifest V3 扩展的开发流程,解决原生开发中的配置繁琐、打包复杂等问题
- 零配置开箱即用:内置 Webpack/Vite 打包、TypeScript 支持、热重载,无需手动配置
manifest.json; - 简化 Service Worker 开发:统一的背景脚本(Background)开发体验,无需关注 SW 生命周期细节;
- 原生支持 React/Vue:无缝集成前端框架,开发弹窗、选项页更高效;
- 自动处理权限 / 清单:通过代码注释或配置自动生成
manifest.json,无需手动维护; - 跨浏览器兼容:一键适配 Chrome、Edge、Firefox 等主流浏览器。
创建项目
pnpm create plasmo multilingual-extensio
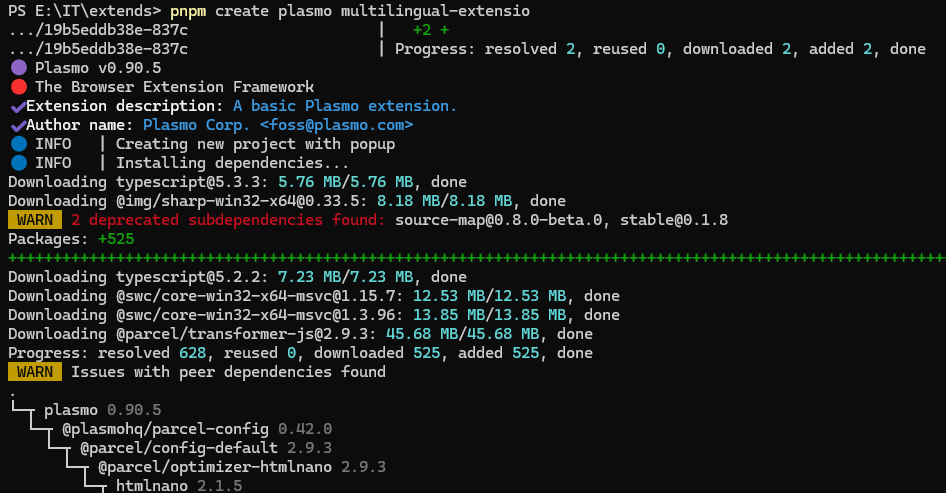
这个命令默认会创建react的项目,如果要创建vue的项目,可以使用 --with-vue
pnpm create plasmo --with-vue
项目结构
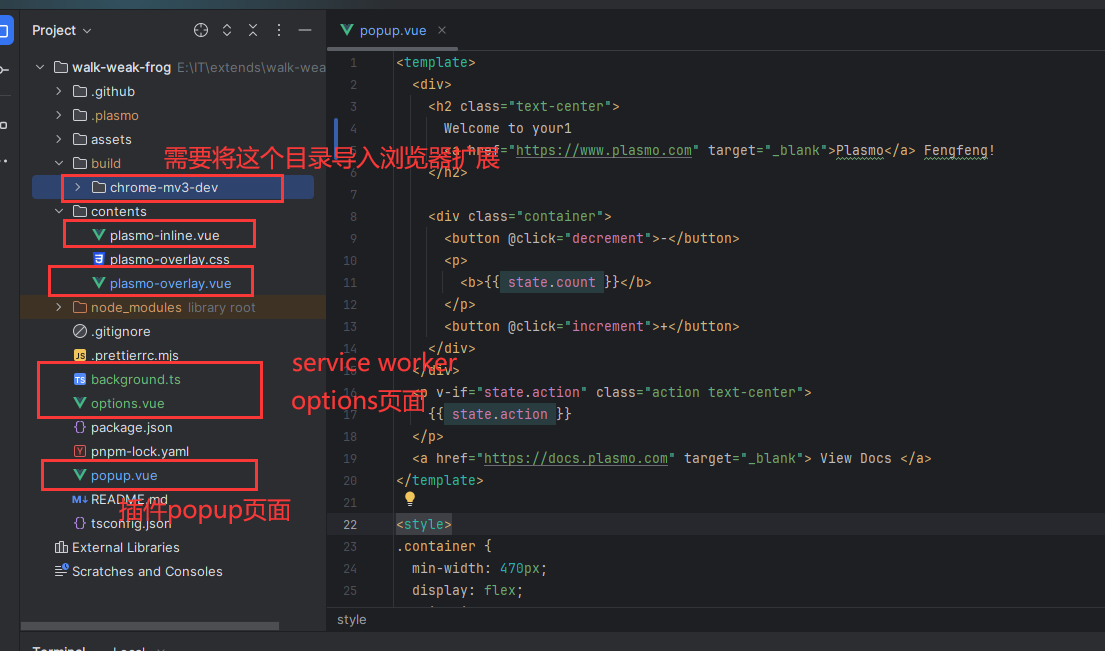
我就以vue的插件项目为例,其中
popup.vue就是插件的弹窗页面
plasmo-inline.vue就是插入网页元素的内容
plasmo-overlay.vue就是浮动在网页的内容
如果需要创建service work,那么在项目根目录下创建 background.ts文件就ok了
然后要创建options,那么在项目根目录下创建一个options.vue文件就ok了
如果新创建的没出来,在插件列表页面刷新一下插件就好了
消息通信
消息通信除了可以用原生 chrome.runtime.sendMessage之外,还可以用plasmo封装的消息
使用原生消息 popup → service worker
console.log("background")
chrome.runtime.onMessage.addListener((message, sender, sendResponse)=>{
    console.log("收到消息了", message)
    sendResponse({message: "响应"})
})
popup.vue
<template>
  <div>
    <h2 class="text-center">
      Welcome to your1
      <a href="https://www.plasmo.com" target="_blank">Plasmo</a> Fengfeng!
    </h2>

    <button @click="send">发消息</button>

  </div>
</template>

<style>

.text-center {
  text-align: center;
}
</style>

<script setup lang="ts">
async function send(){
  const res = await chrome.runtime.sendMessage({type: "xxx", message: "xxx"})
  console.log("响应", res)
}
</script>
使用plasmo消息
pnpm install @plasmohq/messaging
目录结构
background
    messages
        ping.ts  // 每个消息一个文件
    index.ts
popup.vue
import type { PlasmoMessaging } from "@plasmohq/messaging"

const handler: PlasmoMessaging.MessageHandler = async (req, res) => {
    console.log("请求", req)

    res.send({
        message: "响应"
    })
}

export default handler
其他需要发送消息的,就使用sendToBackground 去发消息
<template>
  <div>
    <h2 class="text-center">
      Welcome to your1
      <a href="https://www.plasmo.com" target="_blank">Plasmo</a> Fengfeng!
    </h2>

    <button @click="send">发消息</button>

  </div>
</template>

<style>

.text-center {
  text-align: center;
}
</style>

<script setup lang="ts">
import { sendToBackground } from "@plasmohq/messaging"
async function send(){
  const resp = await sendToBackground({
    name: "ping",
    body: {
      id: 123
    }
  })
  console.log("响应", resp)
}
</script>
content script玩法
<template>
  <span className="hw-top">
    If I can have honesty, it's easier to overlook mistakes
  </span>
</template>

<script lang="ts">
import cssText from "data-text:~/contents/plasmo-overlay.css"
import type { PlasmoCSConfig, PlasmoGetStyle } from "plasmo"

export const config: PlasmoCSConfig = {
  matches: ["https://www.plasmo.com/*"]
}

const getStyle: PlasmoGetStyle = () => {
  const style = document.createElement("style")
  style.textContent = cssText
  return style
}

export default {
  plasmo: {
    getStyle
  },
  setup() {},
  mounted() {}
}
</script>
这个是默认生成的结构,template是以shadow的放入插入到页面中的
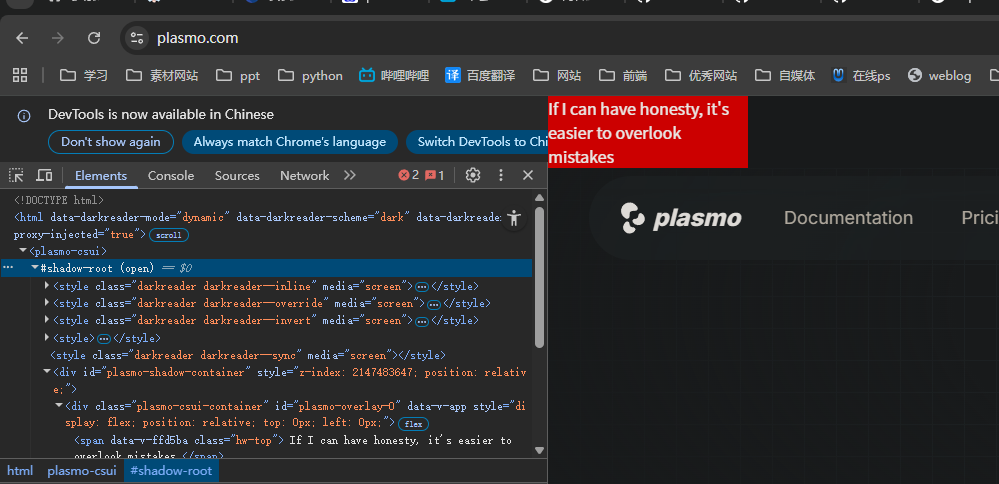
matches就是匹配规则,符合这个匹配规则的才会执行
如果我要给不同网站注入不同的js应该怎么办呢,很简单,不同的网站创建不同的vue文件
如下
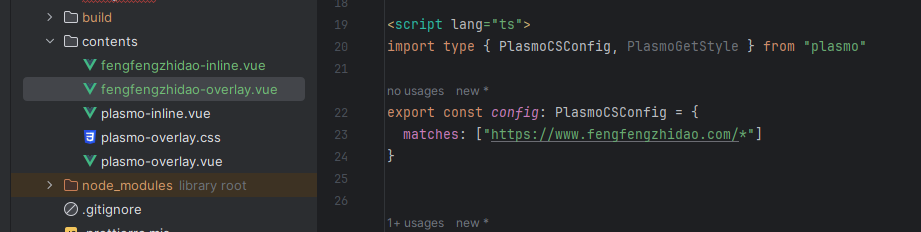
如果是inline,就是将对应组件插入到页面元素的指定位置
<template>
  <span class="hw-top">
    fengfengzhidao-inline
    <button @click="xxx">点我</button>
  </span>
</template>


<style>
</style>


<script lang="ts">
import type {PlasmoCSConfig, PlasmoGetInlineAnchor, PlasmoGetStyle, PlasmoMountShadowHost} from "plasmo"

export const config: PlasmoCSConfig = {
  matches: ["https://www.fengfengzhidao.com/*"]
}

const getInlineAnchor: PlasmoGetInlineAnchor = () =>
    document.querySelector(".my_site")

const mountShadowHost: PlasmoMountShadowHost = ({ anchor, shadowHost }) => {
  anchor!.element!.insertBefore(shadowHost!, anchor!.element!.firstChild)
}

export default {
  plasmo: {
    getInlineAnchor,
    mountShadowHost,
  },
  setup() {
    function xxx(){
      // alert("我被点击了")
      console.log("xxx")
    }
    return {xxx}
  },
  mounted() {}
}
</script>